Palm Mosaic (Piles of Tiles)

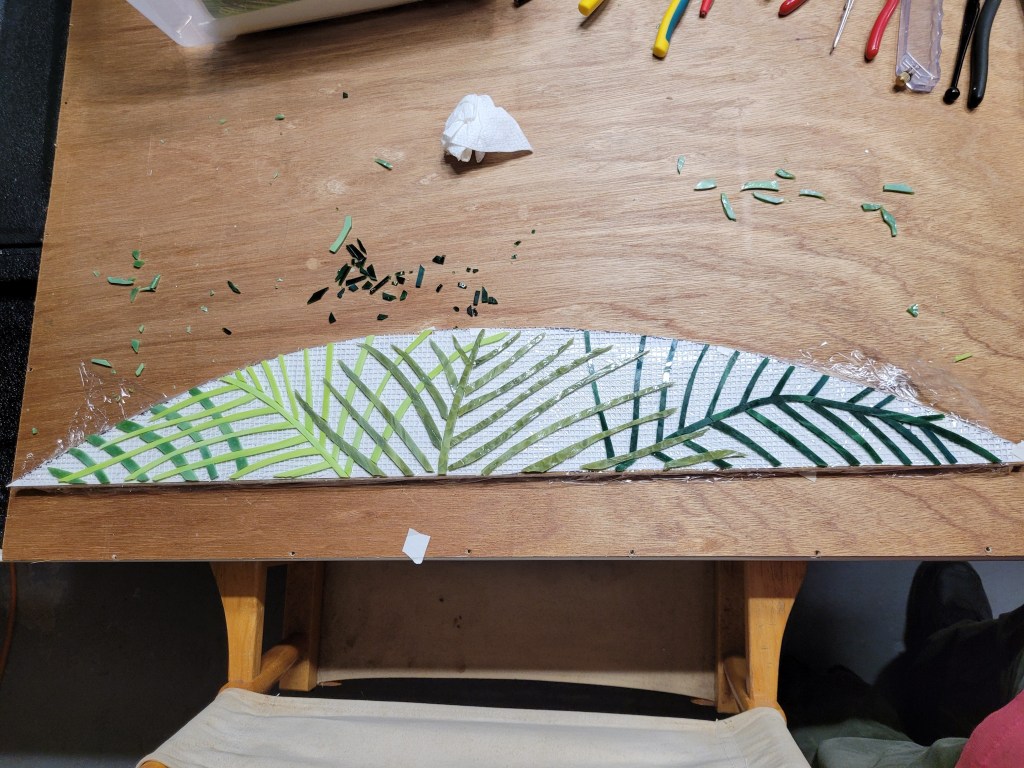
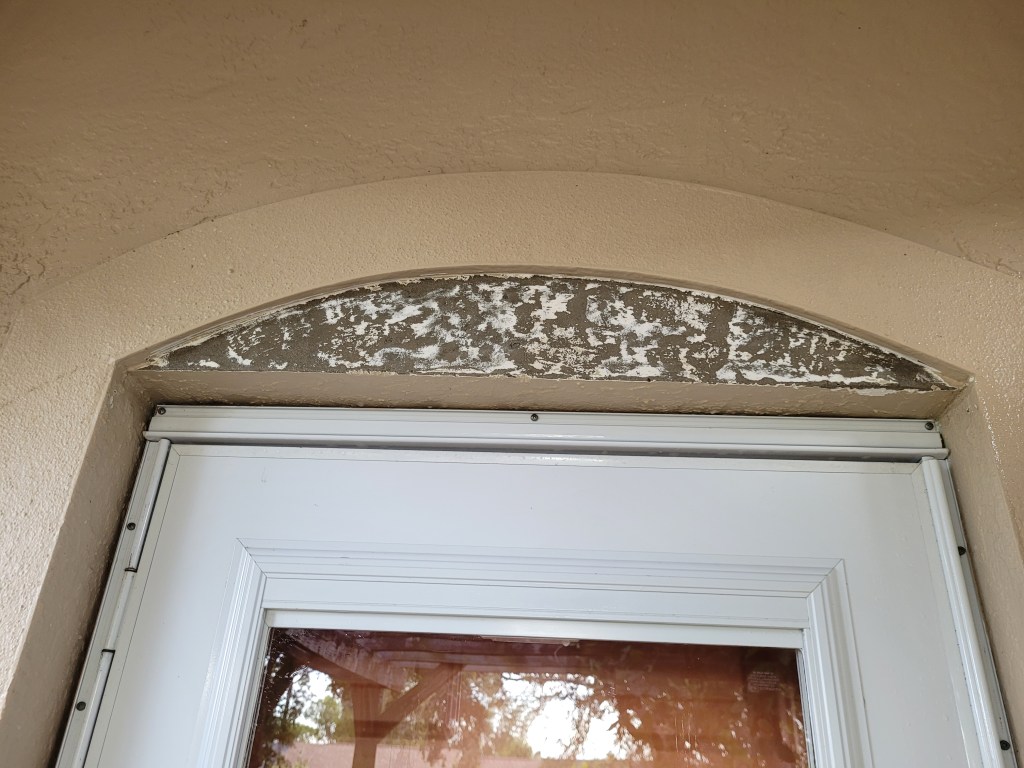
There is this “eyebrow” above the front door of our home that frames nothing. So I determined to fill it with something colorful and welcoming.

Open field. A blank, concrete canvas.

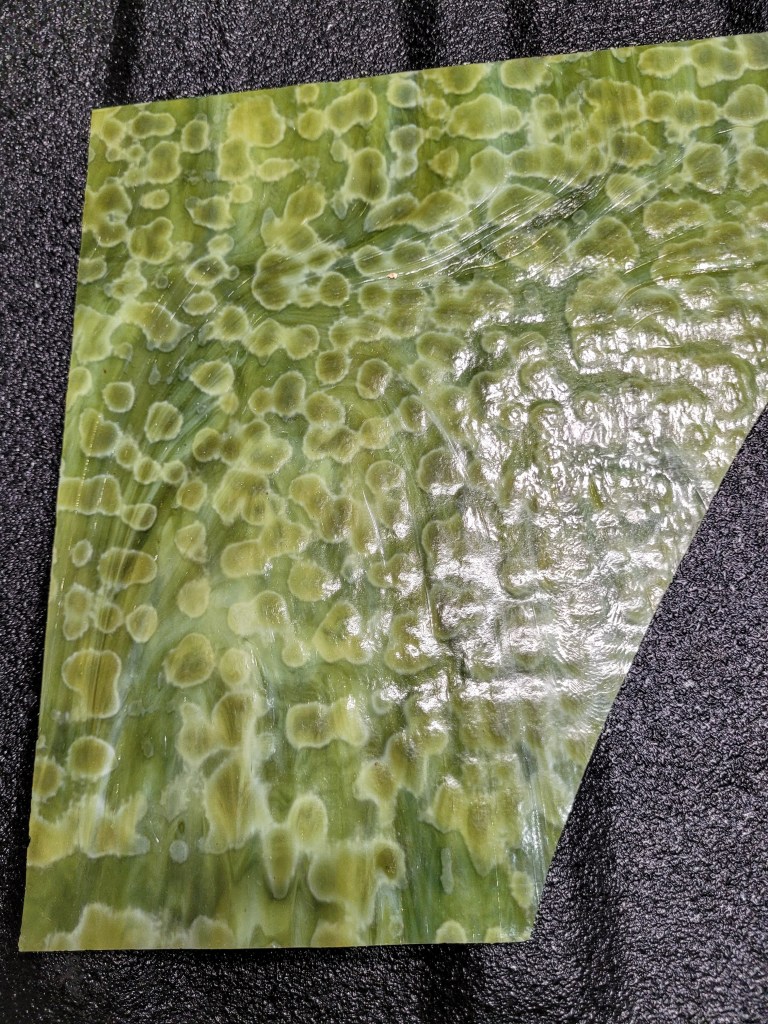
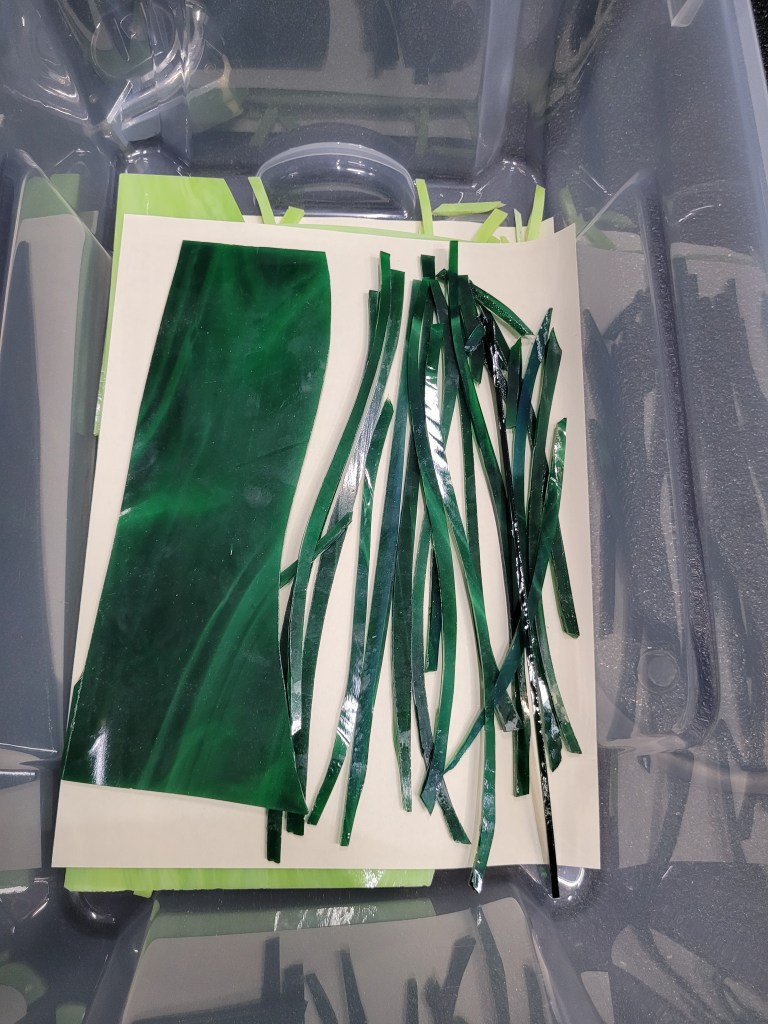
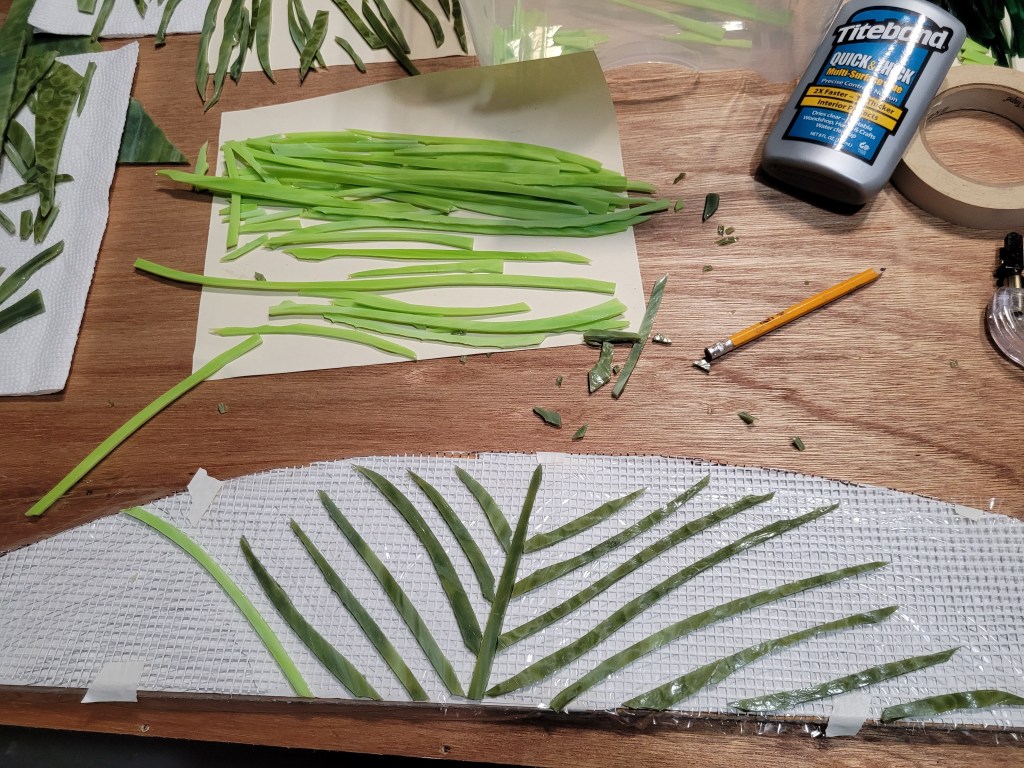
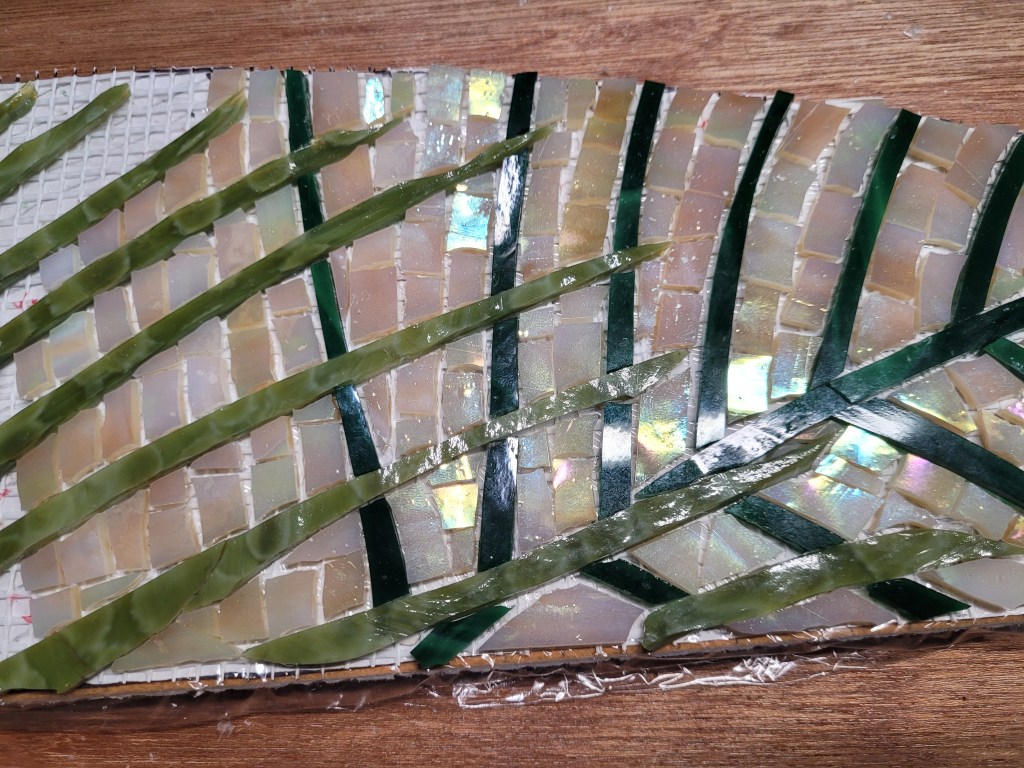
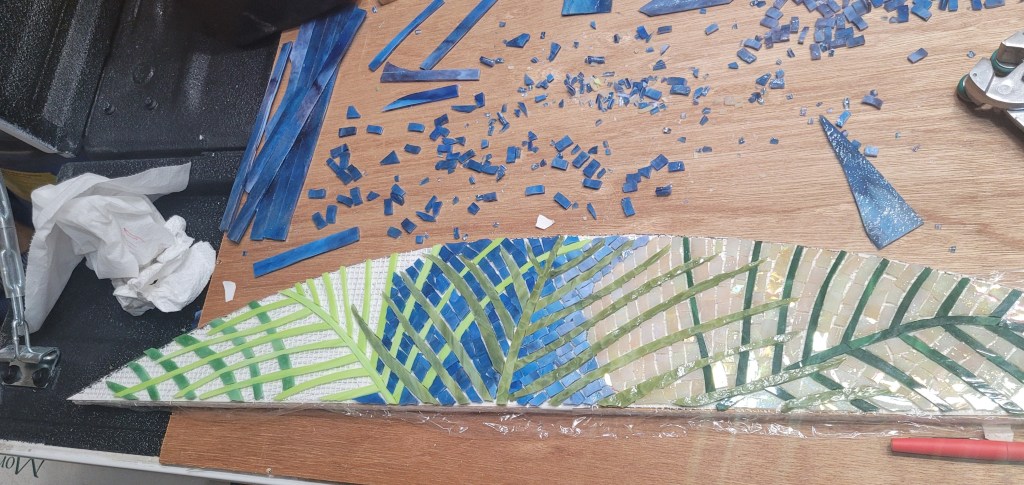
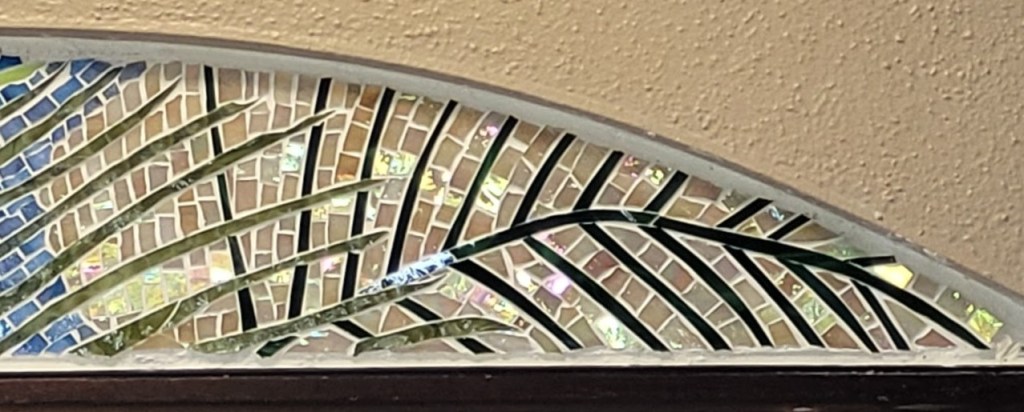
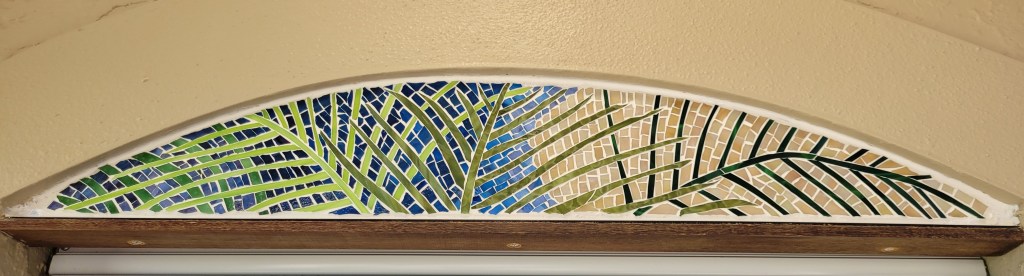
I’ve always liked the pattern created by overlapping palm fronds. So I used that design for this mosaic.

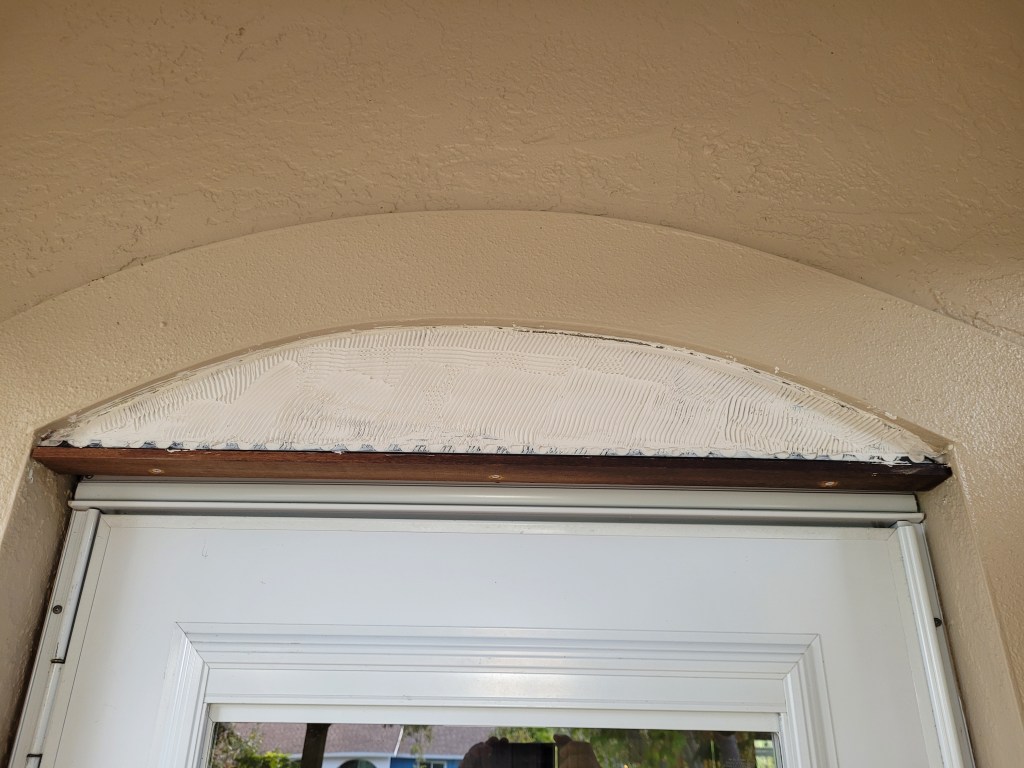
It took one month (of part-time puttering) from sketch to finished installation.

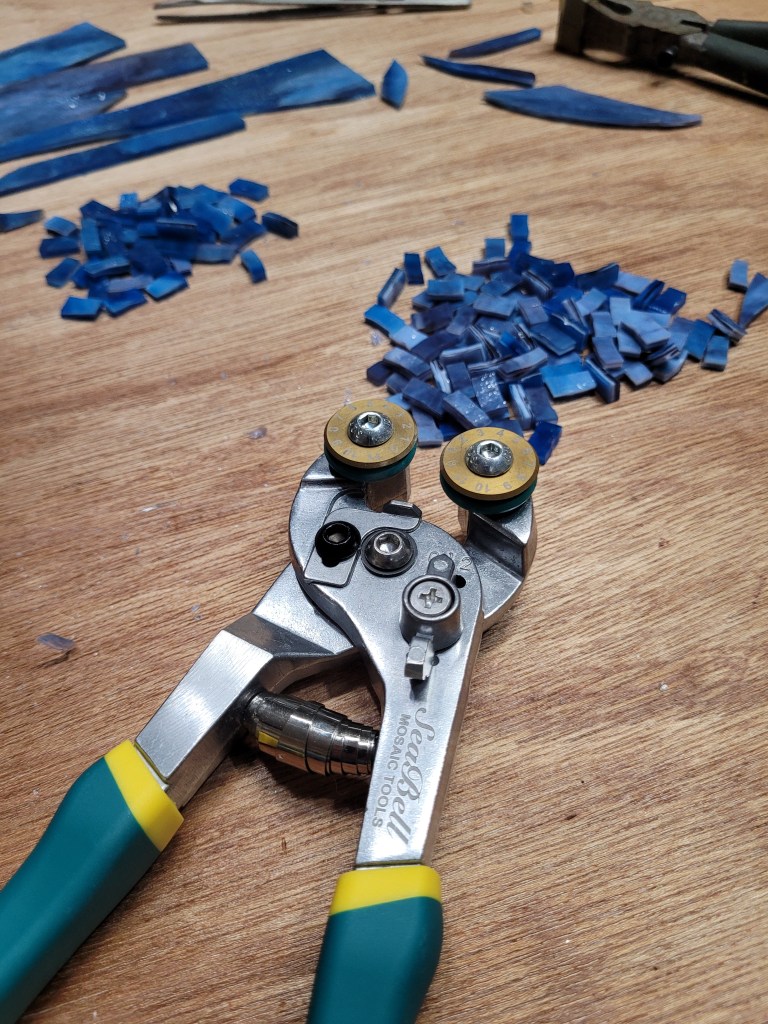
Out of curiosity, I wondered how many pieces were in this work? So when it was on the bench before installing I counted 571 tiles.

My models.
This base sketch helped me align the fronds.
I used four different greens for the leaves. This one wanted to shatter.
This pattern would make a better frog than a frond.
I’m new at cutting curves but this sheet had no grain and snapped clean every time.
Looks like a boiling swamp. This sheet of glass was not flat but I worked around it.
Done with the fun. Now on to the tedious work of filling in the background.
The creams on this sheet matched the color of our house.
But the surprise was the flip side: iridescent.
These tiles will change color as the light reflects at different angles.
There must be 12 shades of blue/purple/black on this side and more on the reverse.
I first cut strips with the glass cutter.
Then cut the strips into tile pieces with the nippers. The sides look better than the faces!
“Wheelie nippers” what a fun name for an excellent tool.
Time to prepare the wall. This carbide-based grinding wheel took down the textured concrete.
This 80 grit sanding wheel then smoothed the surface, ready for tile adhesive.
The surface was still not even but the tile adhesive (mud) provided a level bed. And I installed a ledge of Ipe wood to help frame and secure the work.
This gummy roller works for relief prints, and for lightly pressing the tiles into the mud.
Urgent repairs needed. A few tiles always fall off and need to be re-glued. Then the squeeze-through adhesive needs to be scraped off with dental tools and exacto knife before it dries.
Grouting was a challenge, pushing it into these little cracks between razor-sharp glass edges, and wiping clean.
As I hoped, these tiles change color as you approach.
Done.